DeltaMaker SD Card Installation Procedure
-
To complete this procedure, you will need a 2.5mm hex wrench.
You may leave the filament spool on your machine for this procedure, if you wish.
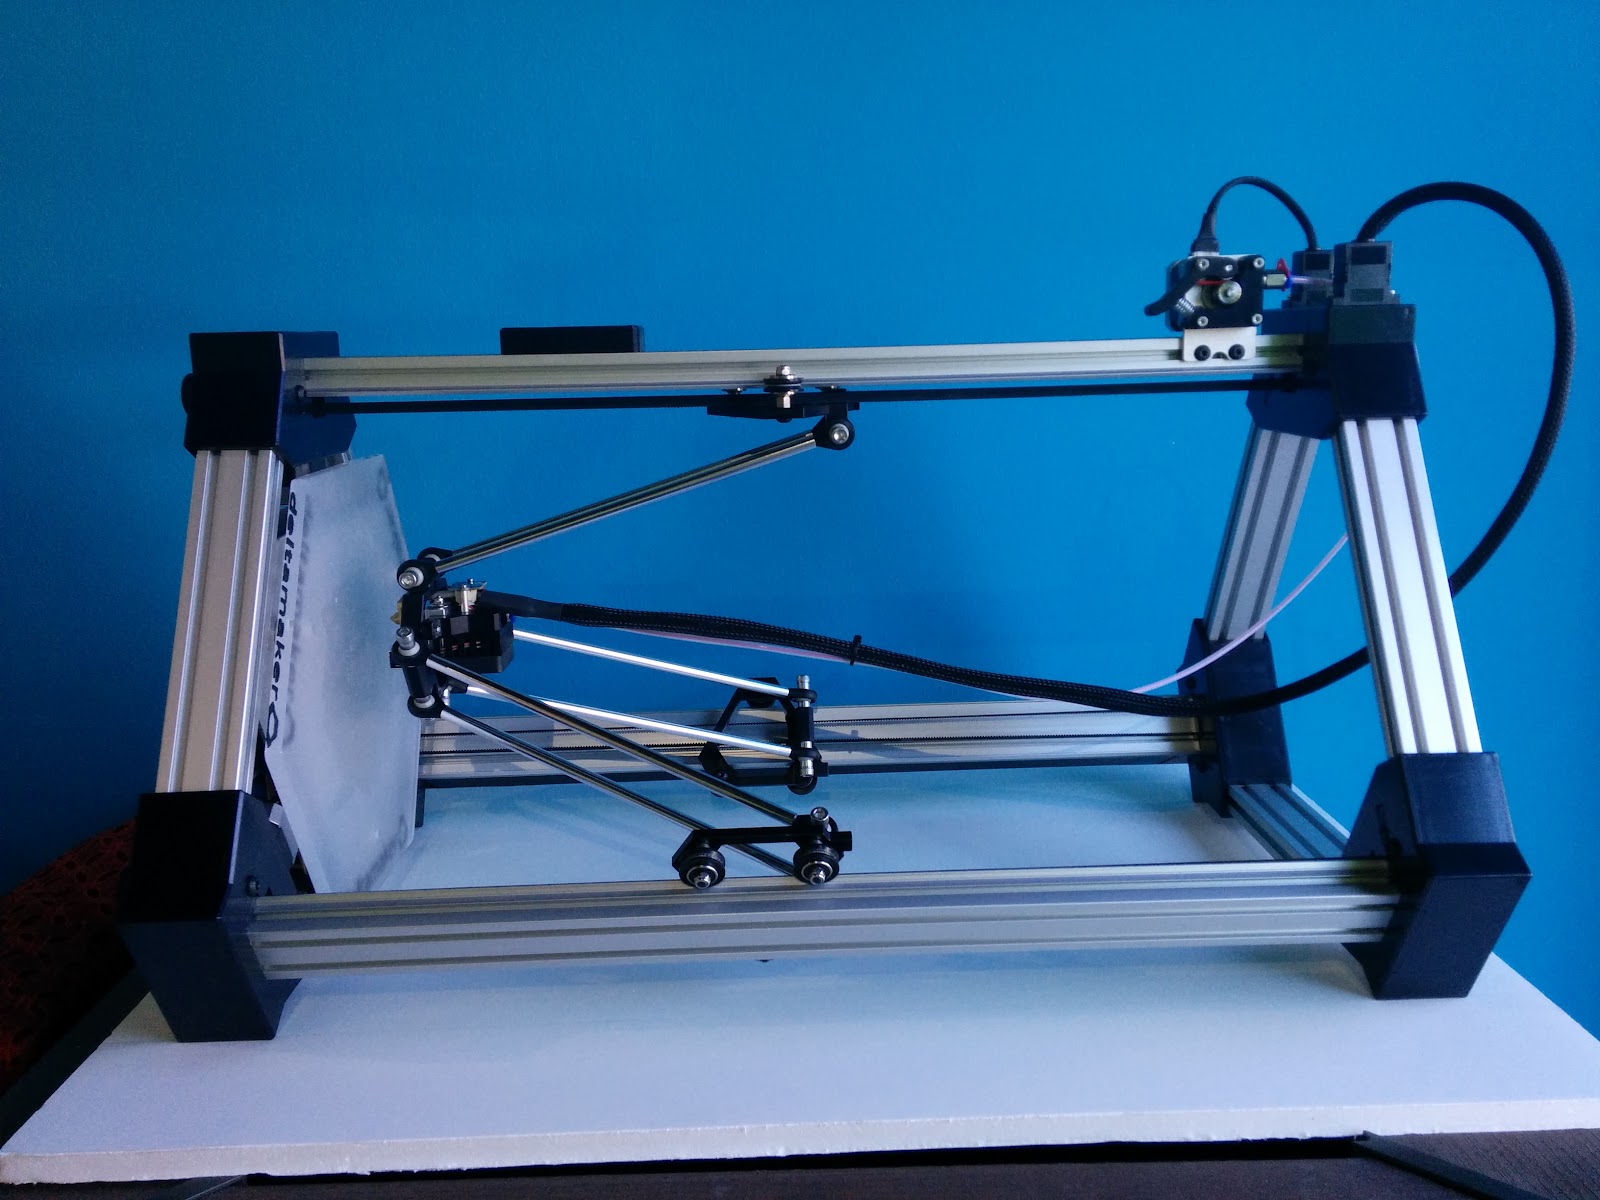
Disconnect the power cord and lay the DeltaMaker on its side, with the filament drive motor facing upwards, as shown. This position will prevent possible damage to the drive motor or connectors on the back of the printer.
On the bottom of the printer, there is a plate which needs to be removed to access the slot for the SD card. Pictured are the three screws that need be removed using the 2.5mm hex wrench.
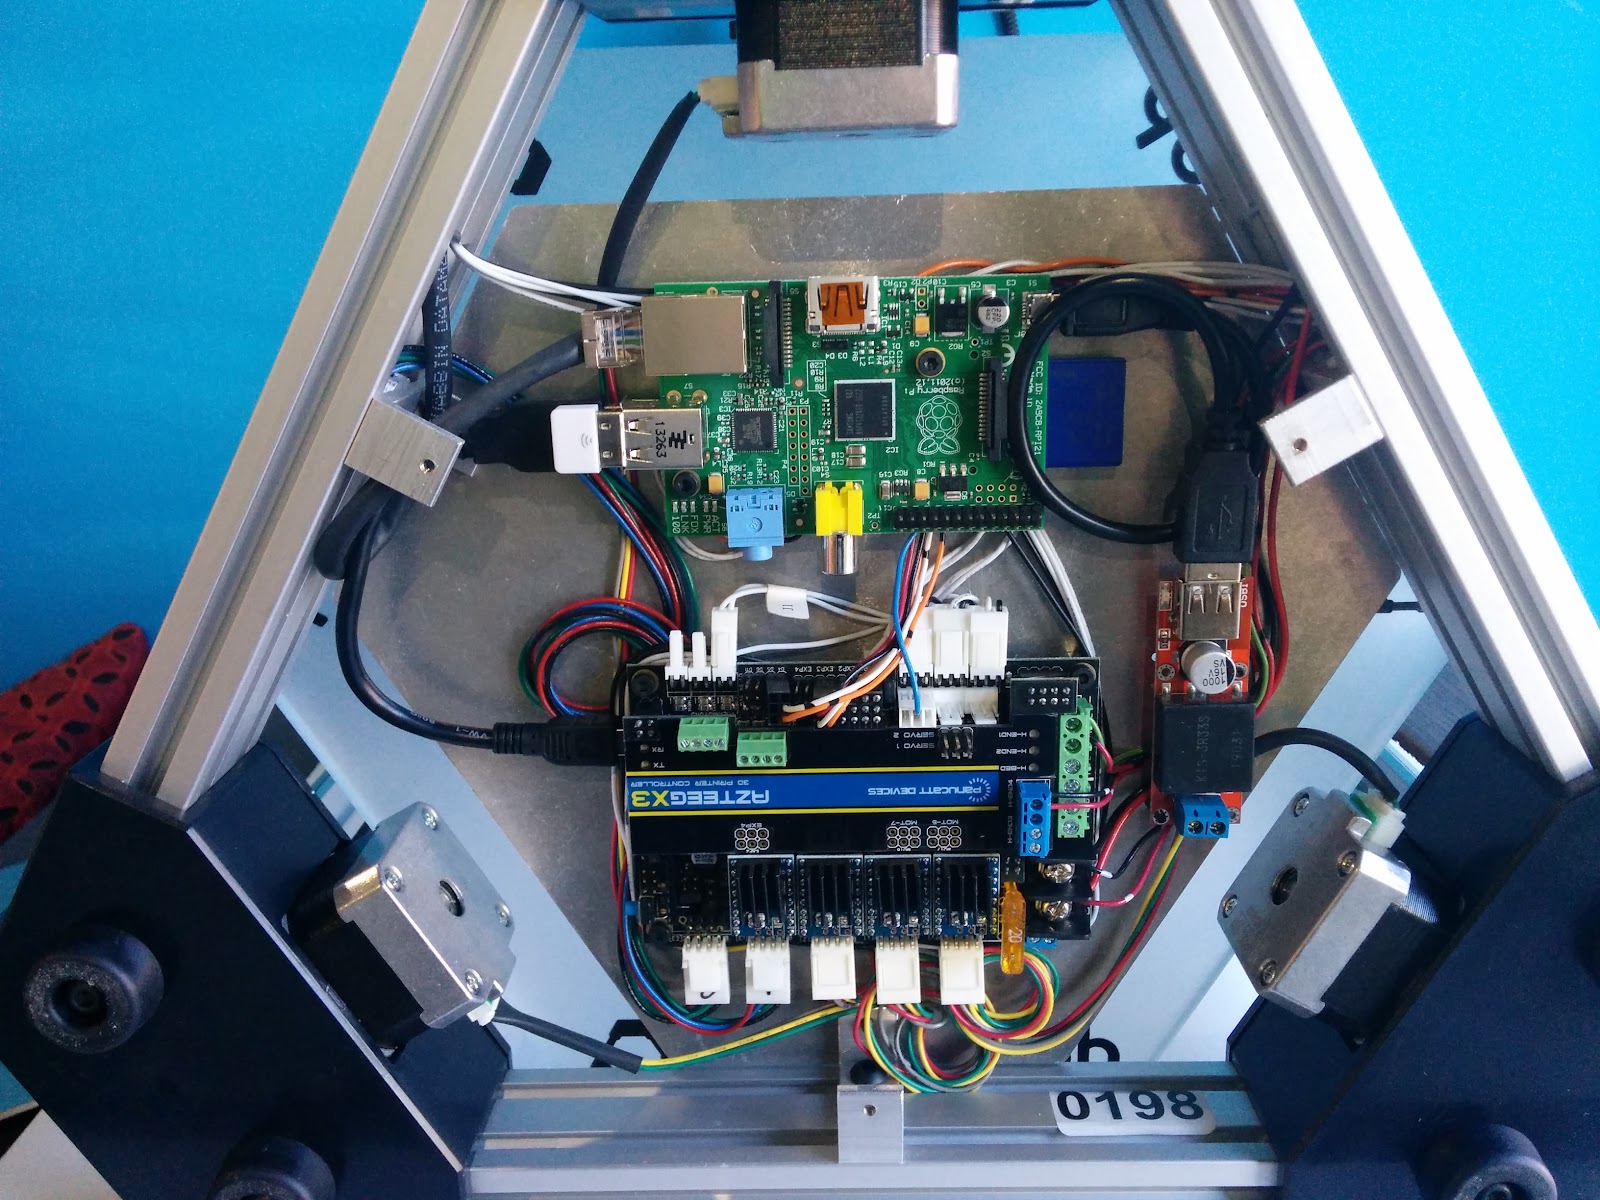
After removing the bottom plate, temporarily remove the black USB cable from the top right of the machine. This is the power cable for the Raspberry Pi computer board.
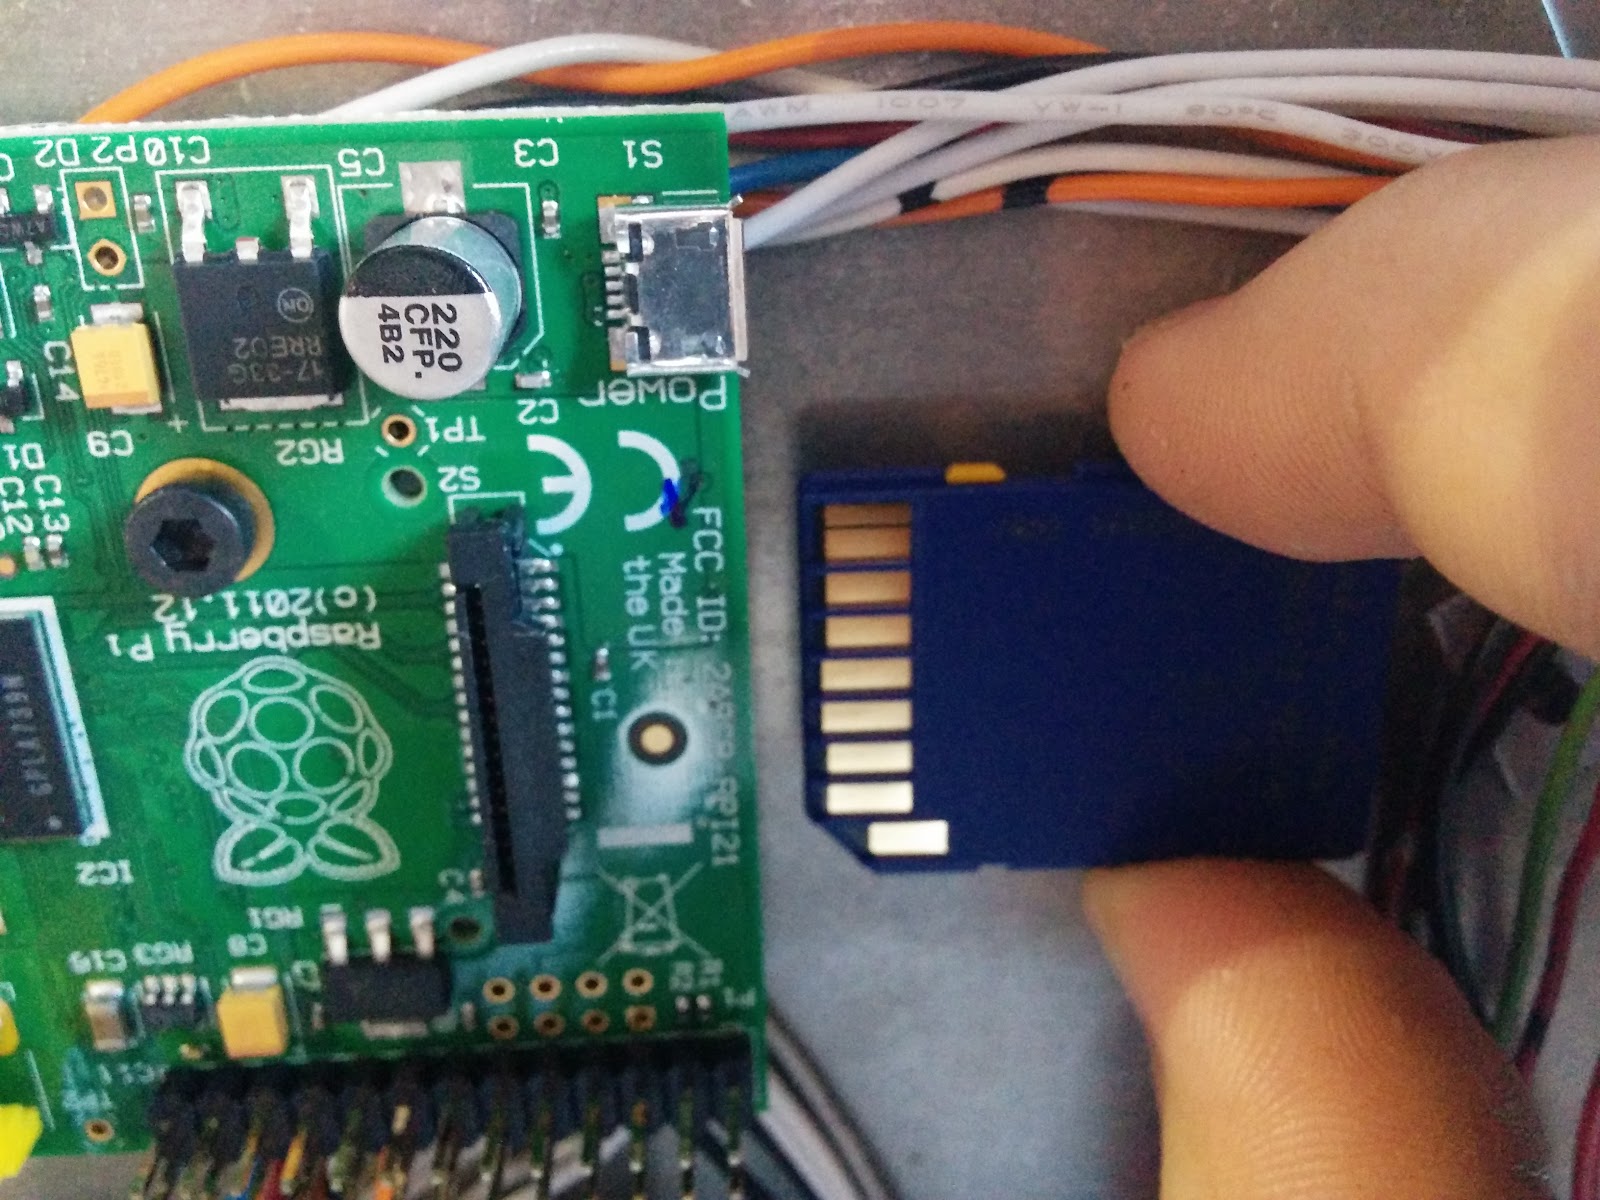
Next, remove the blue SD card which is plugged into the right side of the Raspberry Pi.
When installing the new SD card, ensure that the gold connectors are facing upwards, as shown. Do not force the card into place, it should slide in firmly without too much resistance.
Reconnect the USB cable to the red power supply and to the USB connector marked “Power” on the Raspberry Pi.
Reattach the bottom plate, and return the printer to a normal, upright position. Reconnect the power cord and turn the DeltaMaker on. The DeltaMaker will go through a procedure to automatically expand the filesystem to maximize the available space for uploading files to the printer.