KISSlicer Setup and Use
Introduction
This guide shows how to use KISSlicer with a DeltaMaker 3D Printer. This document is created with the beginner in mind. More advanced users may use different configurations or settings. In the case of slicing issues, it is recommended to test with this configuration as it has proved reliable.
3D printing software is continuously changing for the better. This document references KISSlicer version 1.5 experimental, and will be updated from time to time.
Download, Install, and Open
You can download KISSlicer 1.5 from http://kisslicer.com/download.html - newest versions are always kept here. Select the appropriate one for your computer.
-
Once the file has finished downloading, click to open it, and it will open a new window with an executable named KISSlicer(64/32) in it.
-
This program doesn’t require any installation, so dragging it to a folder on desktop is perfectly fine.
-
Create a new folder on your desktop by right clicking, and selecting “New” and then “Folder”.
-
Name it KISSlicer.
-
Drag KISSlicer64 to the KISSlicer folder on your desktop. Don’t open KISSlicer yet!
-
Before you open KISSlicer, you will need to download the configuration files for the DeltaMaker here: http://things.deltamaker.com/support/KISSlicer_DM_Config.zip
-
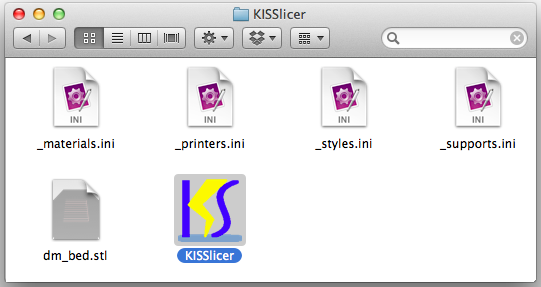
Unzip the files from KISSlicer_DM_Config.zip into the same folder. This .zip file contains the four .ini files and the dm_bed.stl file, as shown below.
-
Double-click KISSlicer to run the program after the configuration files have been extracted.
You will start up with a KISSlicer screen that is loaded with default values and a bunch of “sample” profiles loaded.
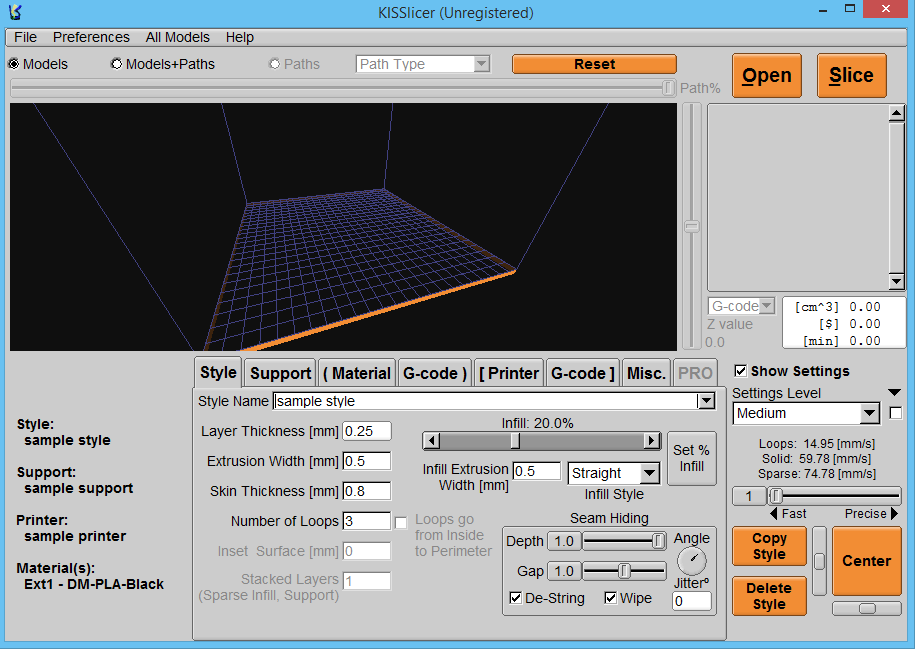
You will need to visit the Style, Support, Material, and Printer tabs and on each you will need to select the DeltaMaker supplied presets.
-
Style should be set to DeltaMaker 0.35
-
Support should be set to No Support or Loose Support.
-
Material should be set to DM-PLA-BLACK.
-
Printer should be set to DeltaMaker.
From the Printer tab, you can set the bed STL model to the one we’ve included if you want to get a better idea of bed relation.
The next step from here, is to find a model to print! There are many places to get 3D models from, but DeltaMaker recommends http://www.youmagine.com.
Slicing your first file
In order to load your model, click the “Open” button in the upper right hand corner of the window.
KISSlicer supports STL files only. No AMF or OBJ support. You will need to have your file converted into the appropriate format to open them.
You will need to right-click on the object in the right hand list in order to scale, transform, rotate, etc.
The area highlighted in pink shows movement controls. This will allow you to position the printed part on the bed however you like.
The free version of KISSlicer is limited to 1 object so you likely won’t use this much unless you buy a license. Click the “Slice” button in the upper right hand corner to begin slicing your object with the chosen parameters! You’ll see the object sliced first with a blue box and then with a green one. This process may take a few minutes.
When the object is done slicing, it will turn green and the “Slice” button will turn into a “Save” button. You can view the output of KISSlicer by changing the viewing options if you wish to verify things sliced correctly before saving.
Click the “Save” button and save your .gcode file! Next is to upload the .gcode to OctoPrint and get printing!